Sunday, February 27, 2011

Rock-Salt Roasted Prime Rib...

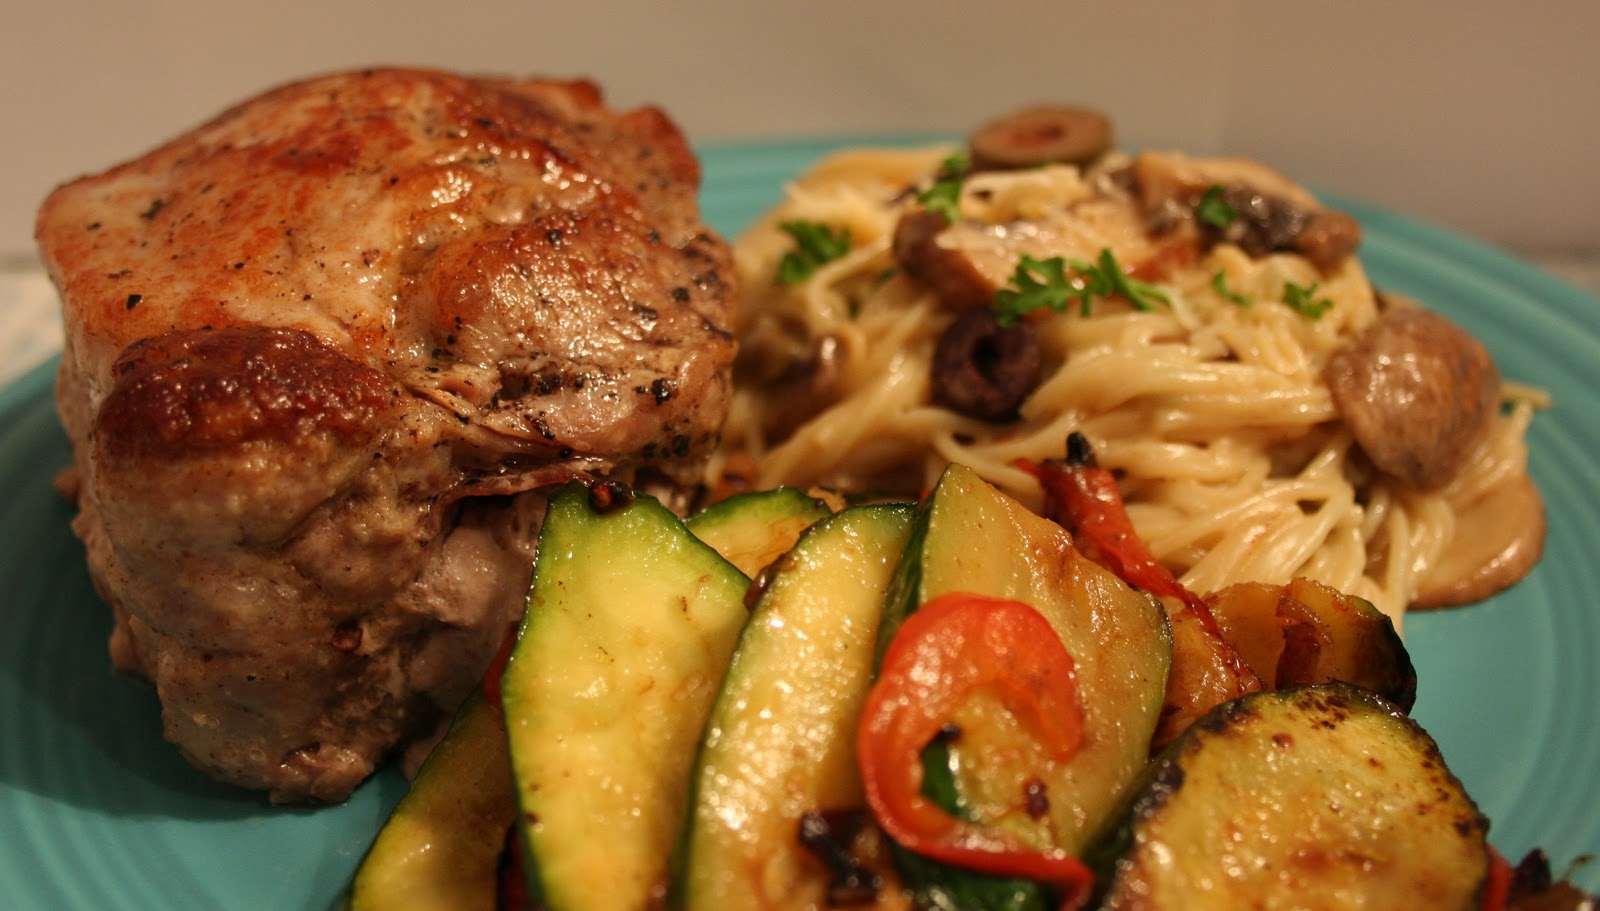
There is nothing like Salt Roasted Prime Rib...it is so tender and moist and flavorful! This is not a new way to cook meat, but it is to me....people have been cooking prime, fish and chicken this way for years apparently...We cook Prime this way at my restaurant....it sells out everyday...you can't go wrong here, it is easy and fool proof....

First, here is a chart to follow to cook the prime to your desired doneness....a Prime cooked this way has the same temperature all the way through...meaning it is as rare in the end cut as it is in the middle...the salt works as a conduit and cooks the prime perfectly evenly...
 
Rare

120 to 125 degrees F
center is bright red, pinkish toward the exterior portion

Medium Rare
130 to 135 degrees F
center is very pink, slightly brown toward the exterior portion

Medium
140 to 145 degrees F
center is light pink, outer portion is brown

Medium Well
150 to 155 degrees F
not pink

Well Done
160 degrees F and above
 is uniformly brown throughout

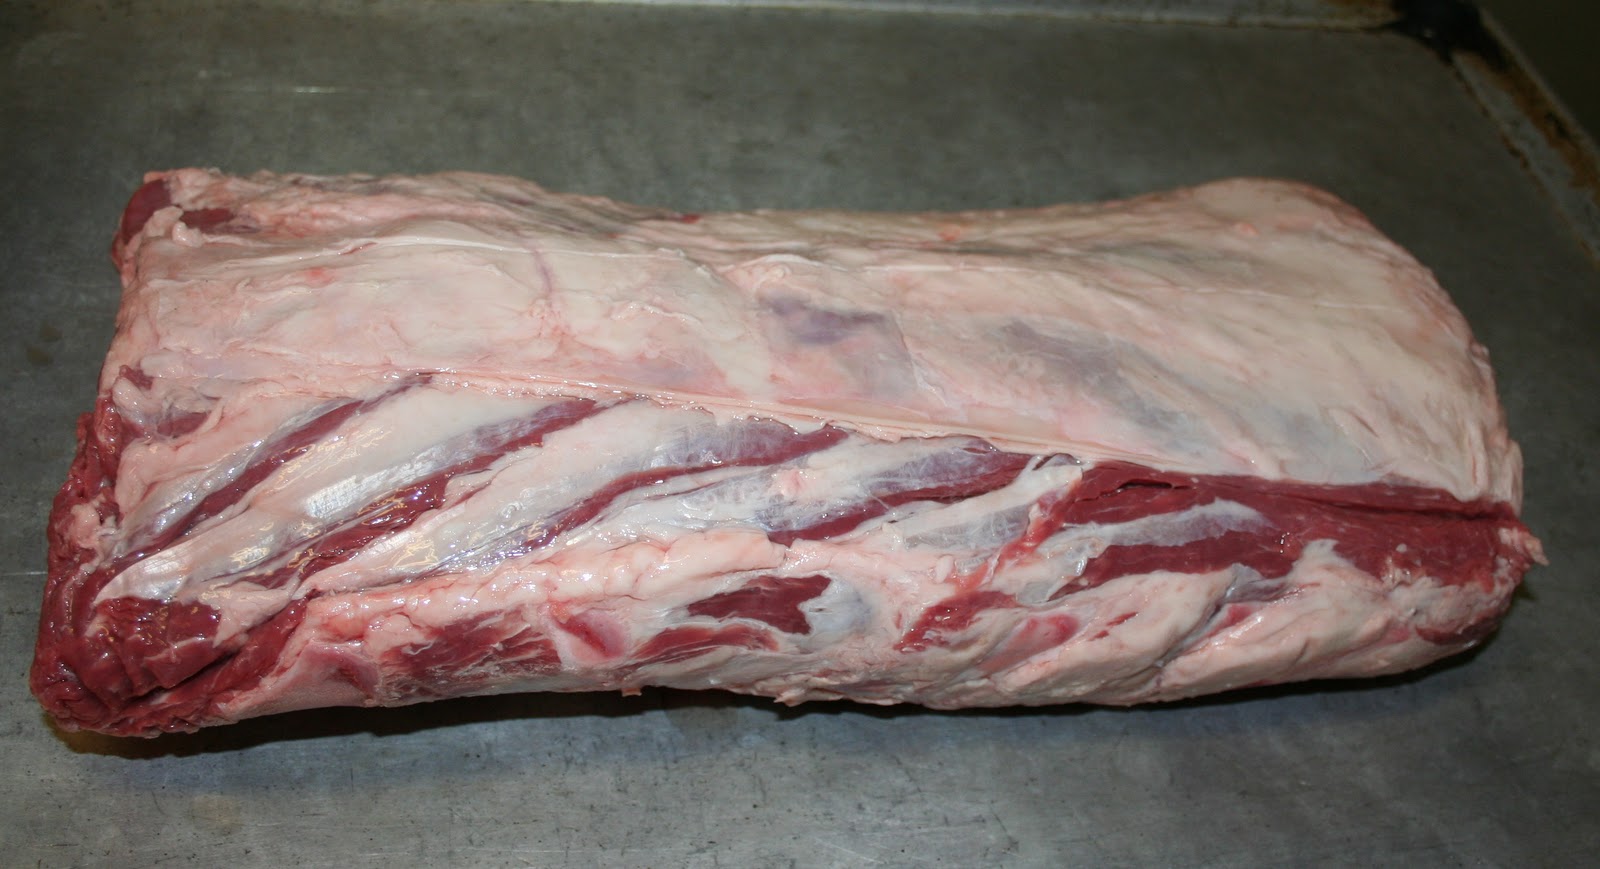
take your prime, this is a 14 lb prime...but this same procedure will work with any size....

sprinkle liberally with coarse ground pepper....this is being prepared by my chef and friend Chepe'..

flip it over and sprinkle the other side and rub in....

put a 1 inch layer on rock salt on the bottom of the pan....this is the same rock salt as you would use for making ice cream...

now liberally pour on the salt...we use at least 15 pounds per prime.....

pat it down.....

this is an infomercial for this thermometer....you put the probe in the meat and put the roast in the oven with the long strand hanging out and the thermometer on the outside, this way you can monitor the roast without opening the door...very easy...this same probe works well on turkeys and bread....you can find this at kitchen shops for around $20....

in goes the prime...we cook the prime 2 hours at 225 degree in a convection oven....we always cook rare..we take it out at 113 degrees and leave it covered in the salt on the counter for 1 hour, or until the probe registers 120 degree...(it continues to cook as long as it is covered in the hot salt) at home in a regular oven you would cook it at 325 degrees and follow the same procedure (says Chepe)...Check it after 2 hours with a thermometer and cook to desired doneness...

time for the unveiling...slowly brush off the salt and lift out the prime.....

it smells Divine!

and there you have it! Perfectly cooked prime! Rare from end to end...

Cheers to Happy  !!

Wednesday, February 23, 2011

Strawberry Romaine Salad...

Here in the Seattle area we were starting to see signs of spring. The daffodils and Tulips are coming up and it was starting to look so promising...then today snow!....snow, snow and more snow...I made a nice cheery light salad to chase away the cold.....This is flavorful and will be great at summer barbeque's...I can't wait!

Strawberry Romaine Salad

Dressing
1 cup olive oil
1/2 cup sugar
1/3 cup of cider vinegar
1 tablespoon poppy seeds
1 tablespoon grated onion
1 tsp salt
1 tsp dry mustard

Salad
I head of romaine lettuce, washed and torn in bite size pieces
1 cup of shredded mozzarella cheese
1 cup of sliced strawberries
2 cup sliced fresh mushrooms
1/2 cup of sliced green onion
1 cup of cubed chicken breast (optional)
1/2 cup of crumbled cooked bacon
In a blender combine dressing ingredients. Process at medium speed until thickened. In a large bowl combine salad ingredients and stir in enough dressing to coat, toss... and serve...
the remaining dressing will keep well in the fridge..also good on a fruit salad....

the few ingredients for the dressing...just put all the measured amounts into the blender and pulse a few times..

put all the salad ingredients in a large bowl and toss with about half of the dressing...(you can add more if you like, it is just a little hard to take back off)....

a little slice of spring in February!

Cheers to Happy  !!

Tuesday, February 22, 2011

Gooey Butter Cake.....

A few years back some of my family formed the Thunder Mountain Gang...We would go to Idaho and stay in my cabin, with the pretense of attending the Cowboy Poetry Gathering...we did attend of course, but mostly we played, we laughed, we sang, we shopped, we played dress-up, told stories until all hours of the night, we sat on the porch and watched the sun come up over the mountain and we ATE! Oh my we ate some of the best meals of my life! This cake would have been the biggest breakfast hit, to enjoy on the deck, in our pajamas, with fresh hot coffee and smelling the sage in the soft mountain air.......ahhhh take me back to my boots and saddle....

Gooey Butter Cake
This is not a new recipe...apparently it has been made for many years in the south...I just saw it on-line. I think on Paula Dean's web site and then I googled it and presto! There is a million different recipes for it...This one seems to be the one that is most basic of them...so it is the one that I tried...In the south it is eaten for breakfast and is sold in many restaurants...I can see why...it is absolutely delicious and so easy too! You all may have been making it for many years...but it has not been made in my family, someone surely would have brought it to family reunion, right?.....

Ingredients:

Crust
1 package plain yellow cake mix
1 stick unsalted butter, melted
1 large egg
Filling
8 oz. cream cheese, room temperature
2 large eggs
1 teaspoon pure vanilla extract
1 stick unsalted butter, melted
1 box, 16 ounces confectioner’s sugar

Preparation:
Preheat oven to 350°. Prepare crust first. In a large mixing bowl, combine cake mix, egg, and melted butter with a wooden spoon until moist. Transfer to a 13″x9″ ungreased baking pan, and spread evenly over the bottom of the pan. Set aside.

Next, prepare the filling. In a large mixing bowl, beat cream cheese with an electric mixer until fluffy. Add the eggs, vanilla, and melted butter, and continue to mix. Next, add the confectioners sugar one cup at a time until all sugar is mixed in. Pour filling over the crust, and spread evenly with a spatula.

Bake gooey butter cake for 40-45 minutes until it is browned, but the center is still jiggles when the pan is shook. Cool for 30 min. Sprinkle top with powdered sugar...

just a few basic ingredients...most you probably have in the pantry...

the crust mixture is spreadable....

the filling is light and fluffy....

spread over crust......pop in the oven, and bake...your house will smell exactly like butter cookies...

when it comes out of the oven, it has this real nice crust on it...and is shiny...wait 30 minutes and...

it falls....now, run a spatula around the edges to get it away from the pan, cut into squares....

put a light dusting of powdered sugar over it...this is truly heaven on a fork...it is creamy, buttery and gooey...
Yes, I ate every single forkful...not sayin' if I licked the plate!

Cheers to Happy  !!

Thursday, February 17, 2011

Fontina and Prosciutto stuffed Pork Chops

I love Mario Batoli...I think he is so cool, he is from Seattle but that is not why...I think it is his orange Croc's..and maybe his red hair...Mario and 3 others recently opened a whole 50,000 square foot Italian shopping village in New York (in the Flatiron district) called Eataly....it looks amazing! It has 5 restaurant's...12 other eateries and different shops..a cheese shop, meat shop, fish shop, coffee shop, olive oil shop, produce shop, fresh pasta shop, wine shop, beer garden,...a mozzarella shop where they make the mozzarella right in front of you....everything in eataly is handcrafted.....and it is now on the top of my bucket list....how I want to go there.......http://eatalyny.com/how-to-eataly/manifesto

the owners, Lidia Bastianich, Oscar Farinetti, Mario Batali and Joe Bastianich
It is quite the layout...this place is huge! It is like going to an Italian Village, most things are imported straight from Italy.......they also have cooking classes, by Lidia...that look wonderful! So in honor of Mario and his new Eataly..I made a Mario recipe...Stuffed Pork Chops...The wonderful thing about Mario's recipes are they are simple...he just uses a few great ingredients..these pork chops were fantastic! They were moist and very flavorful..... 

Fontina and Prosciutto stuffed Pork Chops

4 bone-in pork chops, about 1 1/2 inches thick

2 quarts water
1/4 cup sugar
1/4 cup kosher salt
4 fresh thyme sprigs
10 cloves
6 allspice berries

8 slices (about 3 ounces) pancetta or prosciutto
1 cup of shredded(about 3 ounces) fontina

Directions
Prepare the pork chops. Make a brine by combining the water, sugar, salt, thyme sprigs, clove and all-spice berries in a re-seal able bag. Add the pork chops, seal up the bag and put in the refrigerator for about 30 minutes.

Preheat oven to 425 degrees F.
Drain the pork chops and pat dry. Using a paring knife, make a horizontal cut into the center of each chop to make a pocket. Stuff shredded fontina and pancetta inside each pocket and secure with a toothpick. Set 2 large cast iron skillets over medium-high heat and add a 2-count of extra-virgin olive oil to each skillet. Add 2 chops to each of the skillets and cook for 4 to 5 minutes until golden. Turn chops. Drizzle with a little olive oil and season with salt and pepper before putting the pans in the oven. Roast chops for 5 to 7 minutes until cooked through and cheese has melted. 

I didn't have all the ingredients for the brine...so instead of the allspice berries, I used ground allspice..it came out fine...also the brining process can be done earlier in the day...

grate the cheese......

split the pork chops.....

really thick pork chops......maybe 2 inches....

place a layer of prosciutto, a big handful of cheese, kind of squished together...

then another layer of prosciutto...

toothpick snugly together......

and grill in a pan, browning good on both sides.....


then place in a roasting pan, cover and bake in the oven until they are over 165 degree inside...these were 170.....Mario's recipe said 5-7 minutes..but these took 40 minutes....might depend on the thickness...see the juices in the pan?... they would have been great to incorporate in the pasta...wished I would have thought of that earlier...sigh....

Open a bottle of red wine and 'Salute to Mario!!"  Enjoy!!!!

Cheers to Happy  !!!

Tuesday, February 15, 2011

Chocolate Peanut Butter Bars...

If you like Peanut butter cups you will most assuredly love these! I like them better. Using the crunchy peanut butter makes them so good...and maybe healthy too....these would be great to serve to at a teenage party...
My twelve year old granddaughter agrees with me....I made a double batch, so there was plenty to share....

Chocolate Peanut Butter Bars
¼ cup brown sugar
1 1/3 cups powdered sugar
¼ cup butter
1 cup crunchy peanut butter
6 ounces semi sweet chocolate, chopped fine
2 ounces unsweetened chocolate, chopped fine
1 tablespoon butter, cut into cubes
Line the bottom of a 8x8 pan with parchment paper and set aside.
Cream together butter and sugar until creamy. Add in peanut butter and mix until smooth. Press the mixture in the bottom of the pan using the bottom of a glass to create a smooth compact layer. Place in the refrigerator.
Fill the bottom of a saucepan with one inch of water. Bring to a boil. While you are waiting for the water to boil, put all of the remaining ingredients in a glass bowl that will just fit across the top of the saucepan. When water comes to a boil remove from heat and place bowl on top. Quickly stir chocolate and butter until melted. If it doesn’t melt completely return the pan to the heat and stir the chocolate mixture until smooth. Do not let it over heat.
Pull the pan out of the fridge and pour the chocolate mixture on top smoothing it out with an offset spatula.

just a few simple ingredients......

cream the butter and the sugars.....

add the peanut butter....

cream together....put in a dish and press into the bottom...

I put powdered sugar on the bottom of a glass to press it in....place in the fridge...

in the top of a double boiler or a bowl over a pan of boiling water...put the butter and the chocolate chips...

2 ounces unsweetened chocolate...cut up in small pieces....

this happens really quickly....just keep stirring....

and it becomes very smooth.....

spread evenly over the peanut butter mixture.....

and place back in the fridge overnight....

pour a great big glass of milk and enjoy!

Cheers to Happy  !!