Saturday, September 14, 2013

A Special Visit to a Very Special Garden


In a Japanese garden, every tree is perfectly pruned, without a leaf out of place. Nothing is planted without forethought as to the exact place appropriate to it.

 I want to share with you a little gift Debbie and I were given.  You see we work in a wonderful little restaurant in Kent, Washington.  We meet so many good people and some become such dear friends we look forward to every visit.
And this is no exception.  A dear couple had been coming into the restaurant for quite awhile and we had gotten to know them.  One of the gifts of being a regular is you get a whole set of friends.  We worry about them when we don't see them and cheer on the parts of their lives they share with us.

One day they slipped up and mentioned they had a garden that required lots of attention, being a wanna be gardener and always interested (nosy) I asked about it.  They told me a little bit about the plants and their Koi pond.  And the water wheel.  And away we went.  I told them Debbie and I would love to come and see their place and I would take pictures for them.

Well I took a bazillion pictures.  It took forever to edit them because they were so many great shots.
I am posting so many here because a garden like this just begs to be noticed.
Please enjoy them.

The wheel is so perfectly balanced that just a gentle push makes it turn.
Can you tell our friend is an engineer.... 
he built this himself it camouflages the garage at the
bottom of the garden. 
It is quite large and is a lovely spot to survey the beauty
all around.
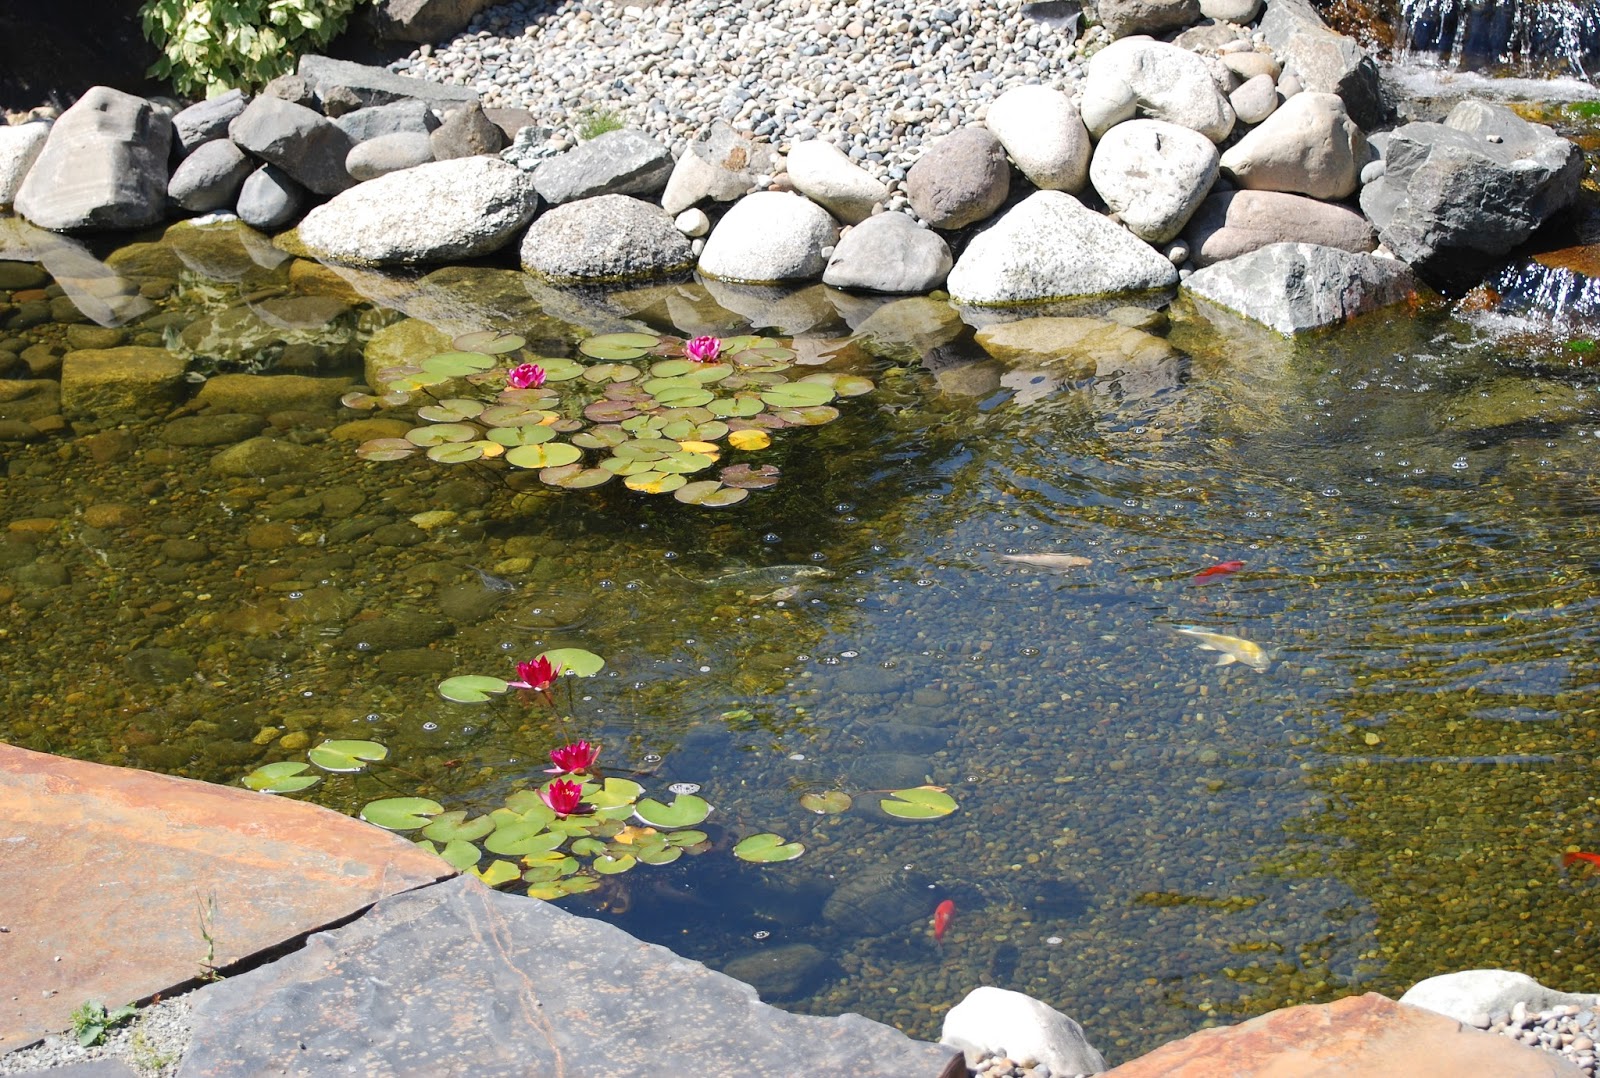


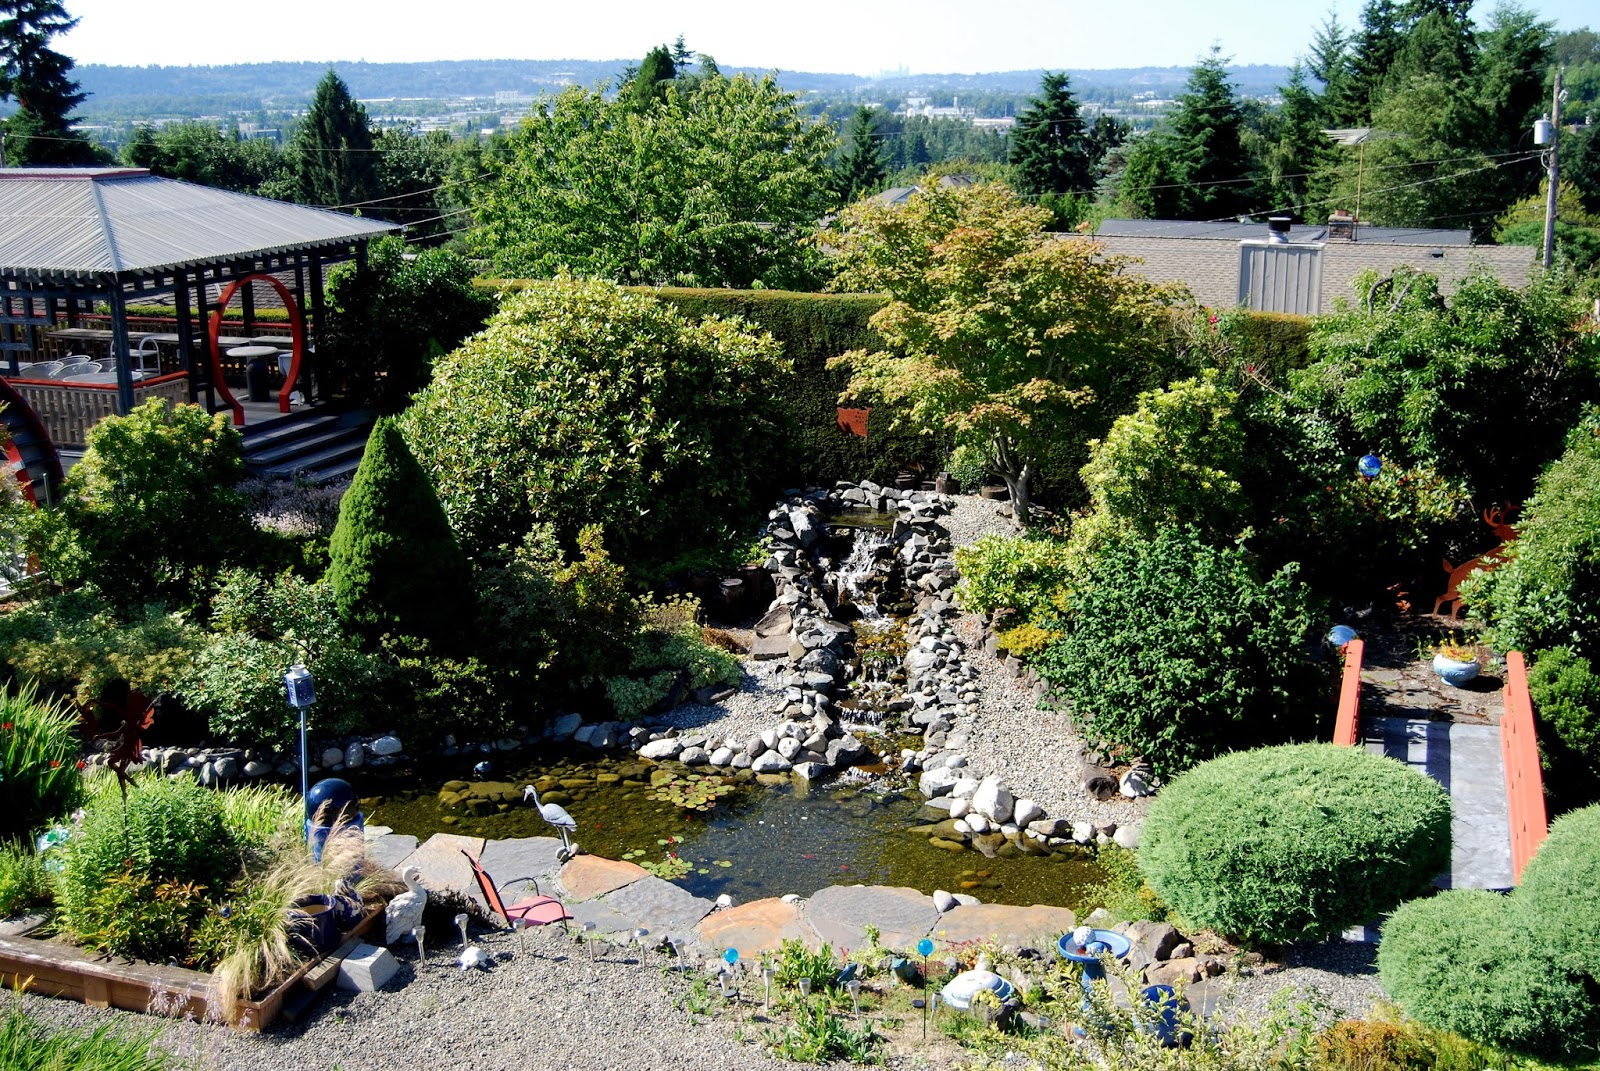
 One of several pools for the showy Koi.  The cool thing is, the water feature is so large the fish can move about quite freely.


 There are two waterfalls- this one is under the bridge and is kind of like a
grotto.  It looks like it would be nice and cool for the fish on a really sunny day.


 This is the large waterfall, it draws you in and invites a walk across the bridge and a visit to the tea house.
 There are many different flowers featured our friend says she buys plants and he gets to plant them. 
Friendly daisies...
 Pink Lavender...and a bee.
 The rose garden -
 Isn't this a pretty colour?

The centerpiece of the rose garden.
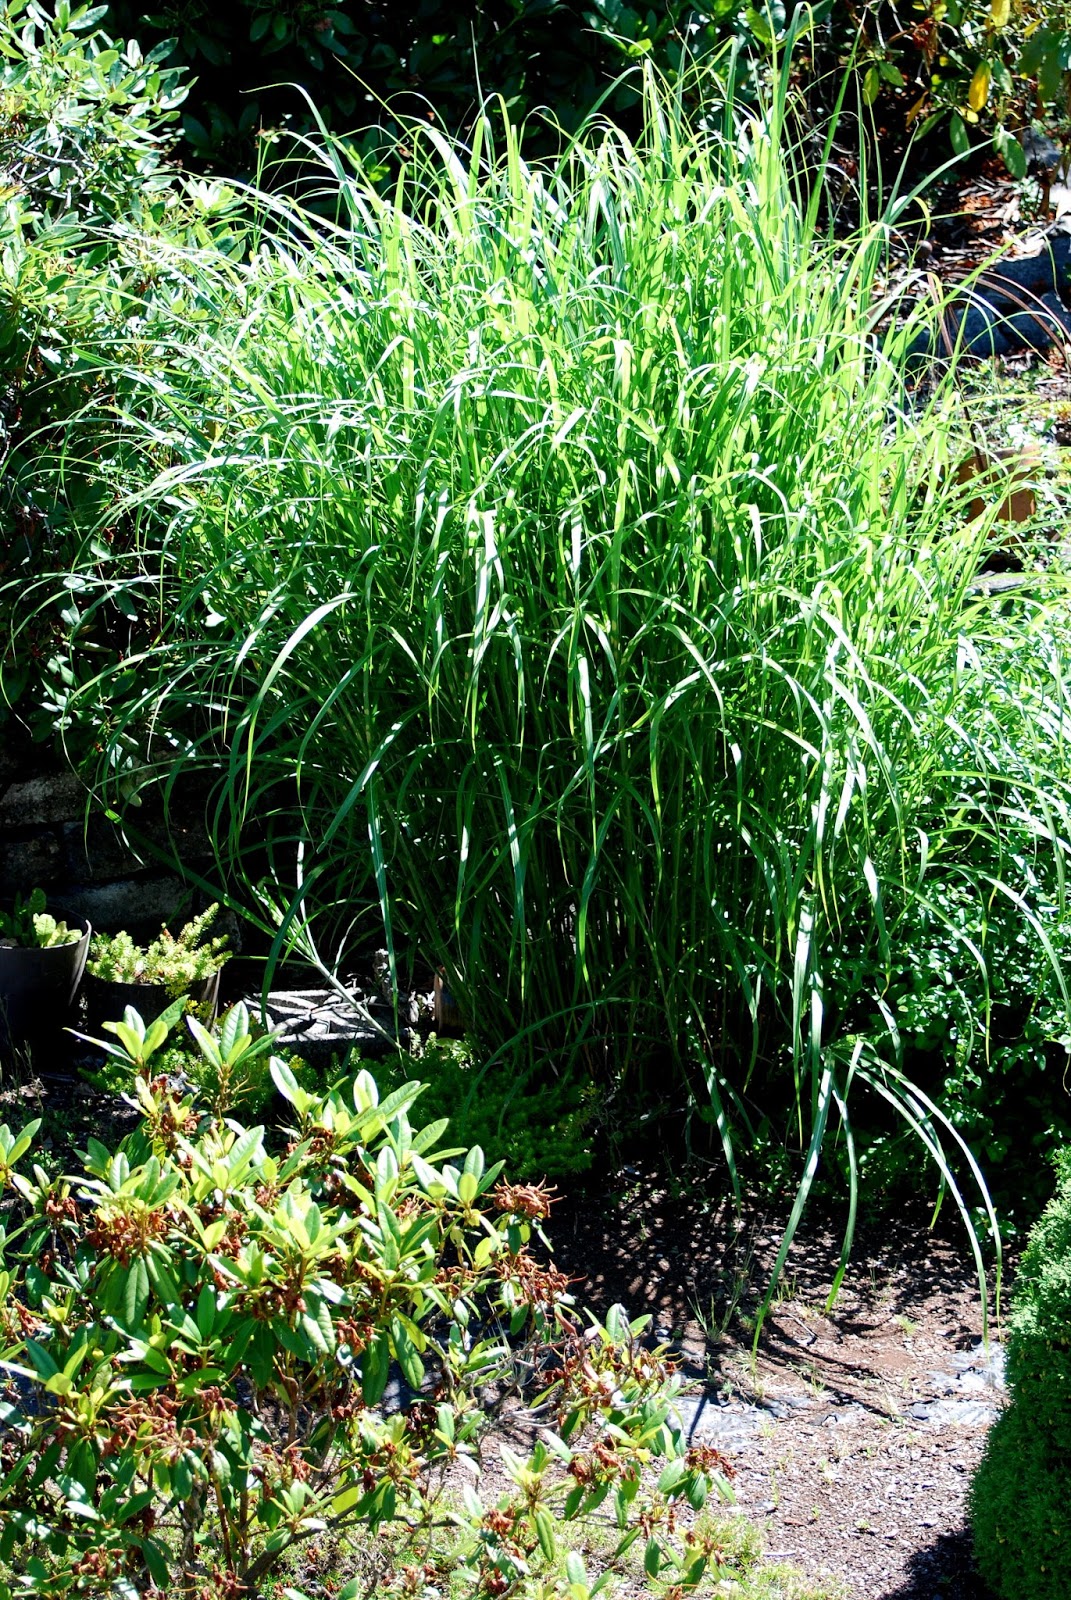
 There are so many things to look at.
Love the simplicity of some of the plants
This green is so refreshing to the eye.
 Lavender
 More grass
Beautiful water lily.


Pictures of the lucky fish that get to live in this most beautiful garden:

Feeding the fish.


 Aren't the colors so amazingly beautiful?

 Do you love the whimsy?  

 I think this looks like Hotai  the God of Happiness
 The topiary is so large, their son keeps it trimmed for them.
Nice son I say.
 The stream feeds a pond on the other side of the garden. 
And there is an alligator in there.
 A better view of this amazing specimen.
 So peaceful.


 The view from the garden.  Yes that is Seattle and even the Space Needle
from this lovely garden in Kent.  Who knew?


 This is a picture of our dear friends.
No names please.
This is a private garden, and you have just received the
best gift ever.  An opportunity to visit this friendly retreat.


CHEERS TO HAPPY!!!

Friday, September 6, 2013

Dutch Baby or German Pancake...


Dutch Baby or German Pancake..doesn't matter what you call this. It is the same thing. We serve them at the restaurant I work in, and you should see people eyes when they are delivered to the table! The guests in the whole dining room crane their necks and ask "what is that?" It is simple to make and a real show stopper.

It is derived from the German pfannkuchen. It is made with eggs, flour, sugar and milk, and usually seasoned with vanilla and cinnamon, although occasionally fruit or another flavoring is also added. It is baked in a cast iron or metal pan and falls soon after being removed from the oven. It is generally served with fresh squeezed lemon, butter, and powdered sugar, fruit toppings or syrup. I like mine with syrup.

Mancas café is the furthest on the left. This picture is from 1902 and is on 2nd and Cherry in downtown Seattle.

According to Sunset magazine, Dutch babies were introduced in the first half of the 1900s at Manca's Cafe, a family-run restaurant that was located in Seattle, Washington and that was owned by Victor Manca. Victor, a staunch Catholic, moved here from Salt Lake City. His passion was cooking and he developed many recipes, this being his most famous. While these pancakes are derived from the German pancake dish, it is said that the name Dutch baby was coined by one of Victor Manca's daughters. She couldn't pronounce "Deutsch" - the German word for German.

I made mine substituting Gluten Free all purpose flour, and it turned out beautifully. I know regular all purpose flour gives you the same results. Just five ingredients and it is so easy it is child's play!

 
Dutch Baby
Ingredients
  • 3 tablespoons butter
  • 1 cup gluten free flour or regular all purpose flour
  • 1 cup milk
  • 1 tablespoon sugar
  • 4 eggs
Instructions
  1. Preheat over to 425
  2. In bowl mix GF flour, milk, sugar and eggs
  3. Melt butter in a 10 or 12 inch oven-safe frying pan
  4. Pour mixture into pan and bake in oven for 20 to 25 minutes or until pancake rises
  5. serves 3-4 hungry people

 
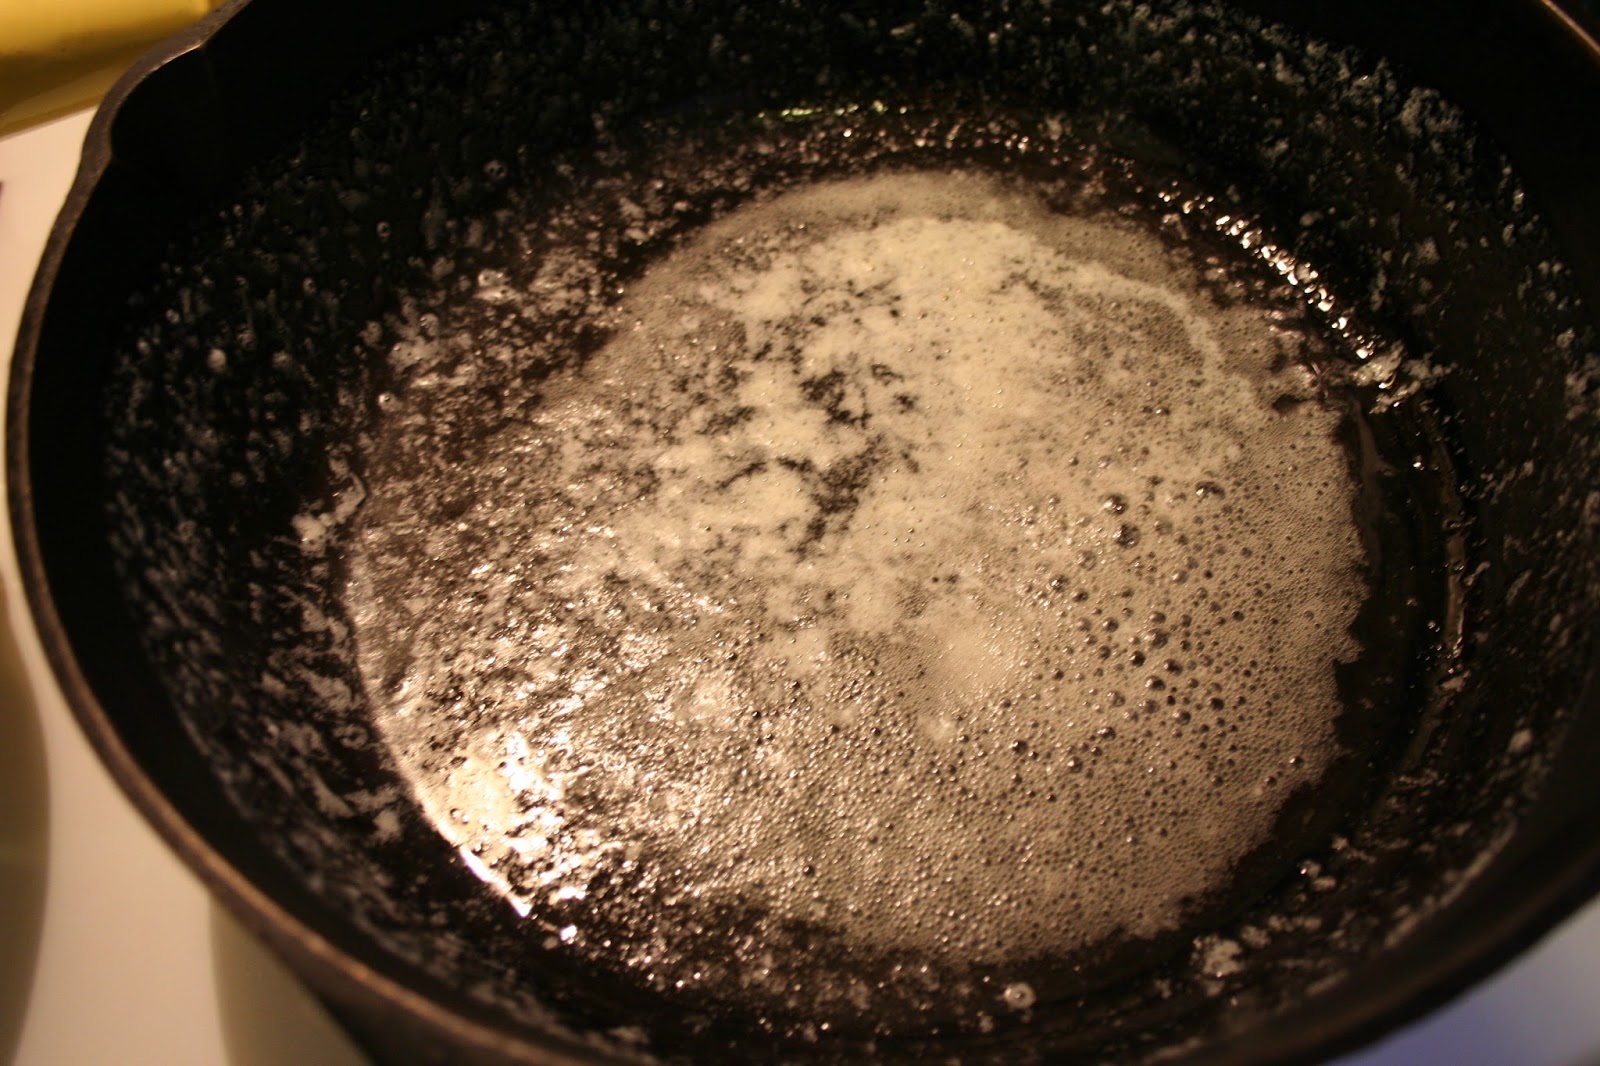
melt the butter in a cast iron skillet on top of the stove..make sure the oven in hot and the skillet is hot...

 
then pour the batter in the hot skillet..

 
Voila!! It is magic!!! You can watch this take shape right through the oven door! Carefully slip it out of the pan, the butter keeps it from sticking and place on a large platter. You can cut it like pizza into wedges and serve with butter lemon wedges and powdered sugar.
 
Cheers to Happy  !!

Thursday, August 29, 2013

Aioli Mayonnaise...

 Being Gluten Free you crave certain things that you used to love and can't have anymore...I think it is closer to mourning food items that are a thing of the past...One of them for me is Chicken and Joes...For years and years my family would meet up at the 2121 Tavern for Chicken and Joes...They are served with coleslaw and cocktail sauce and a creamy joe-joe sauce. My order was always drummettes and skinny joes.  This is my replacement recipe...not exactly the same but delicious...and simple enough to throw together for a gang of people...


Aioli Garlic Mayonnaise
1 egg
1 tablespoon lemon juice
1 clove of garlic crushed and minced
1/2 tsp Dijon mustard
1/2 to 3/4 cup olive oil

squeeze your lemon


blend lemon juice, egg, garlic, mustard until smooth...


while blender is going slowly add the olive oil....SLOWLY....it is finished when it emulsifies and has the consistency of mayonnaise...


this is finished, it would be a great addition to crab cakes...or on fresh cooked vegetables. Like asparagus or green beans...


I used mine to coat my chicken.First dip chicken in flour then the aioli and lastly rolled in bread crumbs. I used gluten free flour and breadcrumbs...but regular would work just as well...There is enough seasoning in the mayonnaise, but if you would like you can season the flour with a little chipotle pepper and salt.... 


and baked for 1 hour at 375 degrees...here is a hint, you want to keep your chicken all bout the same size so it cooks evenly...cut the breast into 2 pieces...so about the same size as the thigh...


While it was cooking I made another version of the Aioli....with this one
I used mayonnaise as a base and added the 1 clove of crushed garlic and shake of tabasco and salt and pepper to taste...the flavor was a perfect sauce to dip the chicken into!


Chicken out of the oven, remember to temp the chicken, making sure it is above 170 near the bone... the aioli mayonnaise gave the chicken a wonderful flavor and it was so very moist! Remember to line the pan with foil...


to go with my Chicken and Joes craving I made plank style roasted potatoes. Just toss with olive oil and salt and pepper...roast them in the same oven as the chicken and approximately the same time...turn them after about 25 minutes...


take out of the oven when tender, they were delicious dipped in the Aioli mayonnaise!


Cheers to Happy  !!

Monday, August 19, 2013

Venezuelan Arepas


I do love summer and all of its generous bounty.  Can you tell I just came in from the garden... nothing better than sun ripened tomatoes.  I could go on and on.  However, I want to share a most wonderful recipe.  This wonderful bread is so delightfully tasty and easy to make.   See many pictures and the recipe below.


I have rounded up our usual cast of characters....
The ingredients and measures follow:
2 cups corn flour  (Masa Harina)
1 Cup Queso Fresco crumbled.
1 Tablespoon Sugar
1 Teaspoon Kosher Salt
4 Table spoons melted butter
2 1/2 cups water.
   Cooking oil for the pan.


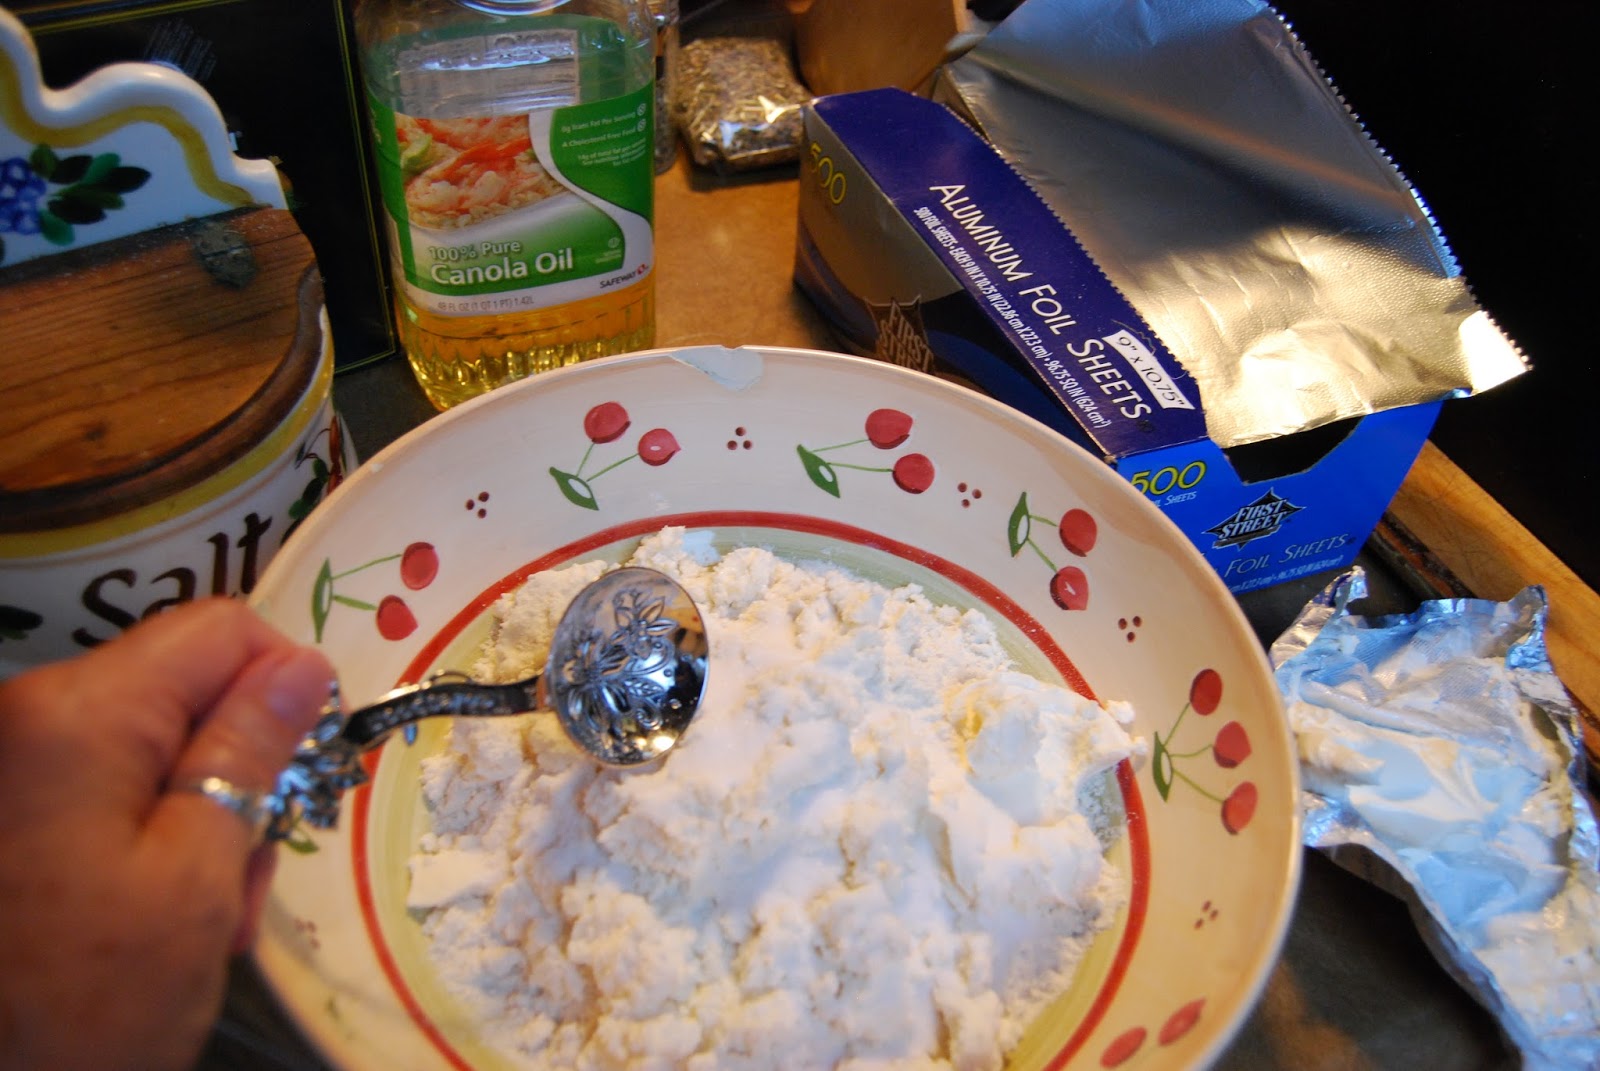
Whisk together the flour, sugar, and salt. 
Mix the melted butter and water together.
Add to the flour mixture.  Add the Queso Fresco and stir well.

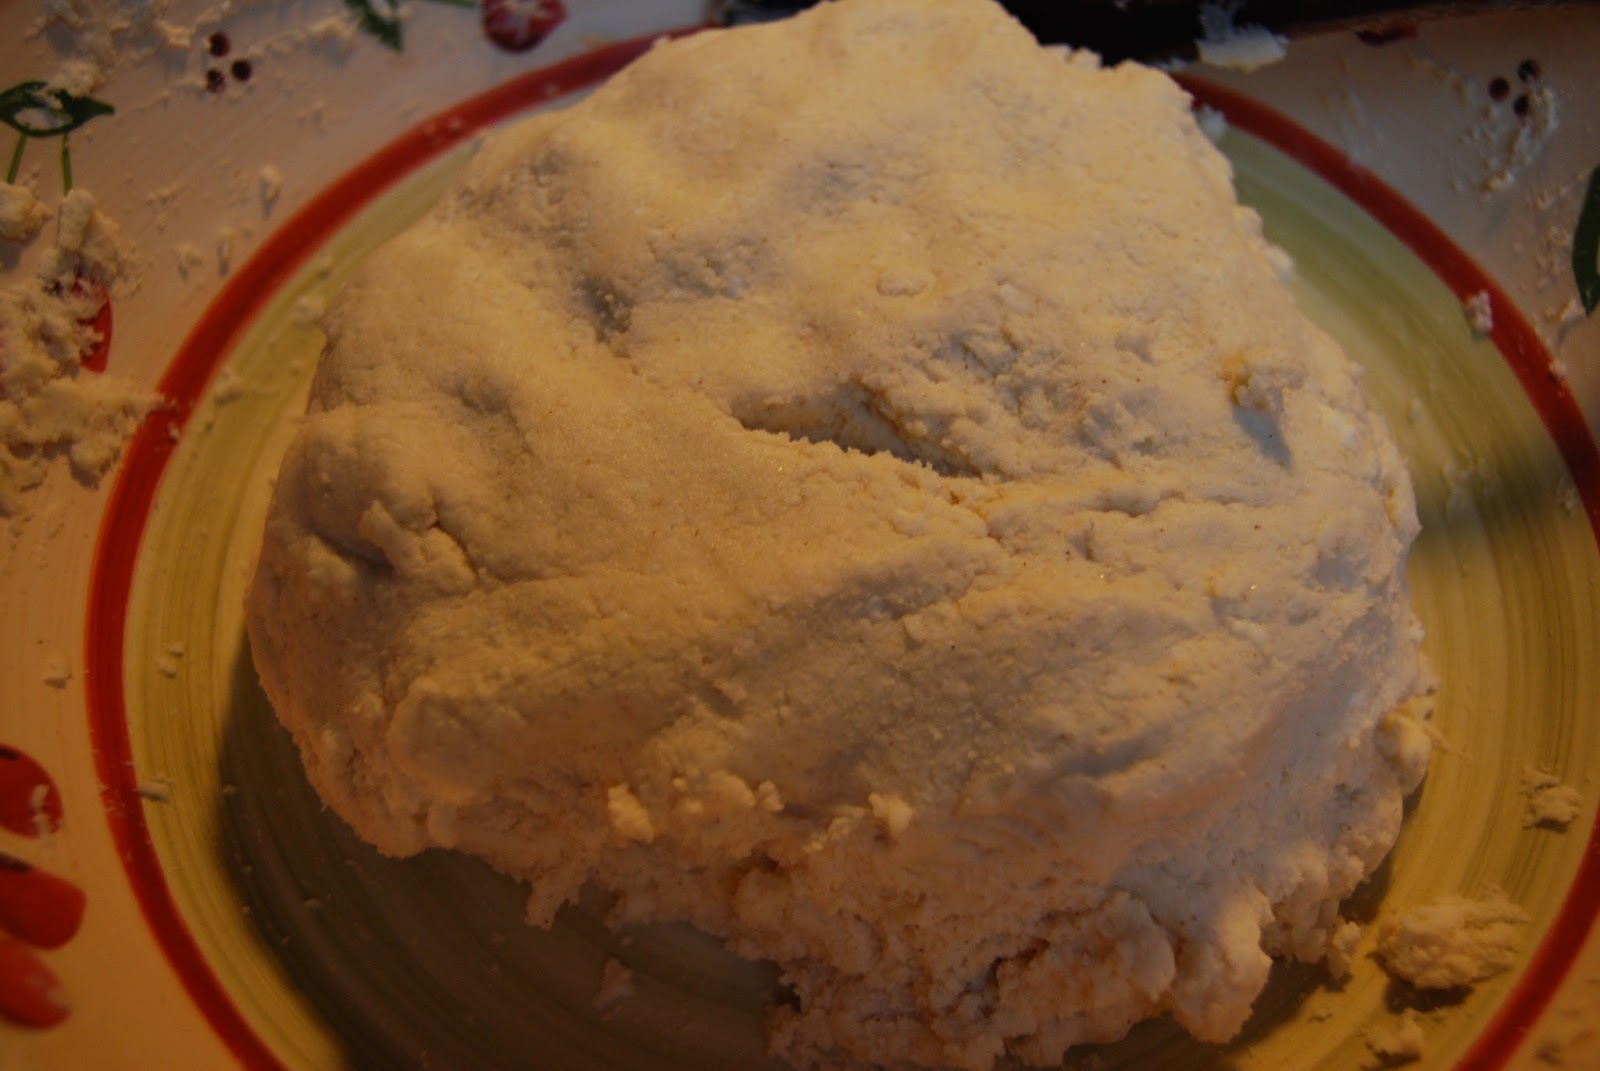
Knead the dough, (hands on here)  for about 8 minutes until the dough holds together nicely. If the dough is too wet add a little more flour (corn) or if two dry a little (very) water.  You will be able to tell by the feel.  You divide the dough into 16 even balls and then get ready to fry.
You will want to pat the dough into rounds about 1/3 inch thick and 4-6 inches in diameter.  Put a Tablespoon of oil in a fry pan (cast iron is the best). Warm over medium heat.  Fry the arepas until they are golden brown.  About 4 minutes on each side.  Place on a baking sheet and keep on going.  It will probably take two sheets for all 16. 


Into the oven for 30 minutes at 350degrees.  They will puff up just a little bit.
They can be split and used for wonderul little sandwiches.  Or warm them and put cheese in the middle.  Or just eat them warm from the oven.

We had international dinner.  Vegetables from the garden with a teriyaki glaze.
Asia covered.
Arepas from Venezuela.
And wonderful Bison from America.  Yum!!
I'll tell you my Cast iron cookware gets a workout.
It was healthy and delicious.  As you can see below.
Yes I am a member of the clean plate club.  Please take the time to make these delicious Arepas and become an International diner too.

Thursday, August 15, 2013

Triple Berry Pie in a jar....


In the Northwest the wild blackberry's are coming on, their sweet smell fills the air on hot summer days. If you don't mind a few thorn scratches, you can pick your fill! When I was a youngster we used to fill buckets of them. Or should I say we used to try to fill buckets. We ate more than we picked. We would find huckleberries, salmon berries and black caps. I love the smell in the woods of pine needles and blackberries combined...


this is the patch behind my property, every year I cut them back away from the fence, letting a few branches hang over for easy picking.


            they are so sweet and good!!!  So fun to go out and pick a few for your morning cereal.


I bought my berries at Sterino Farm Store. It is just down the hill from my house and most of everything they sell either is grown by them or another farmer in the Puyallup Valley.


They sell these neat little combo packs of berries. Cool huh? I am going to make pie in a jar. I have seen this on the internet many times. I think Pioneer woman did it the first time I saw it. I love the idea...

I made your standard pie filling. I used a cup each of all three berries and added a half a cup of sugar, 3 tablespoons of cornstarch, a sprinkle of cinnamon and a squeeze of lemon...

stir it up ...


Distribute evenly  in four jars...I used pint jars, half pints would be plenty big for this though...These were very generous servings.


For the topping I made a standard crumble...1/2 cup of softened butter, 1/2 cup brown sugar. 1/2 cup of flour and 1/2 cup of rolled oats and another sprinkle of cinnamon...


Change to a bigger bowl, I do that a lot don't I? Mix with your pastry bender or a fork until crumbly..


Generously place on top of the berries...You will not want to go too high with the mix..leave room for the berries to bubble without going over the edge of the jar...


Place in a 375 degree oven and cook for 35 minutes....


Finished!! Heavenly smells! This same procedure would be great for apple or peaches too...or pear raspberry....Hmmmm I love pear raspberry...


and if you leave room at the top band of the jar, there is plenty of room for a huge scoop of ice cream!


You also can put the lids on the jars and they are ready to pack for your picnic!!!

Cheers to Happy!!!