Wednesday, November 10, 2010

Parmesan-Artichoke-Crab Wedges...

This is fun to make for dinner or an appetizer...it could easily be either....for dinner just serve it with a large salad and as an appetizer just place on a board or large plate with a sharp knife to slice into wedges... to make it can be a group effort or can be done the day before and popped in the oven in time for dinner....

Parmesan-Artichoke-Crab Wedges...
1 crust of rolled refrigerated unbaked pie crust
1 cup of finely chopped leeks
1/2 cup of finely chopped fennel
1 tablespoon of olive oil
3 slices of bacon
1/2 cup of kalamata olives sliced
1 cup of grated Parmesan
3/4 cup of canned rinsed artichoke hearts
1/2 cup of mayonnaise
1/2 cup of sour cream
6 ounces of crab
snipped fennel fronds for garnish
1. Saute bacon over medium heat..set aside on a paper towel to drain....saute leeks and fennel over medium heat until softened...set aside in a bowl...

2. mix the mayo, sour cream, artichokes, 1/2 cup of the Parmesan and the crab...set aside

3. take a pre-made pie crust, and place on a non stick baking pan....sprinkle with a little cheese, leaving the outer 1 1/2 inches around the outside clear...next the leek mixture, next bacon, then the artichoke slurry, spread evenly over the top the olives and start pulling up the edges all the way around, then sprinkle with remaining shredded cheese...

4. put in a 375 oven for 35 minutes or until golden....sprinkle the fennel fronds over the top for garnish and serve!
this can be completed through step 3 and refrigerated up to 24 hours prior to baking....

saute bacon...

slice fennel and leeks......

shred cheese....

saute the leeks and fennel...I used the bacon pan and added a little olive oil...
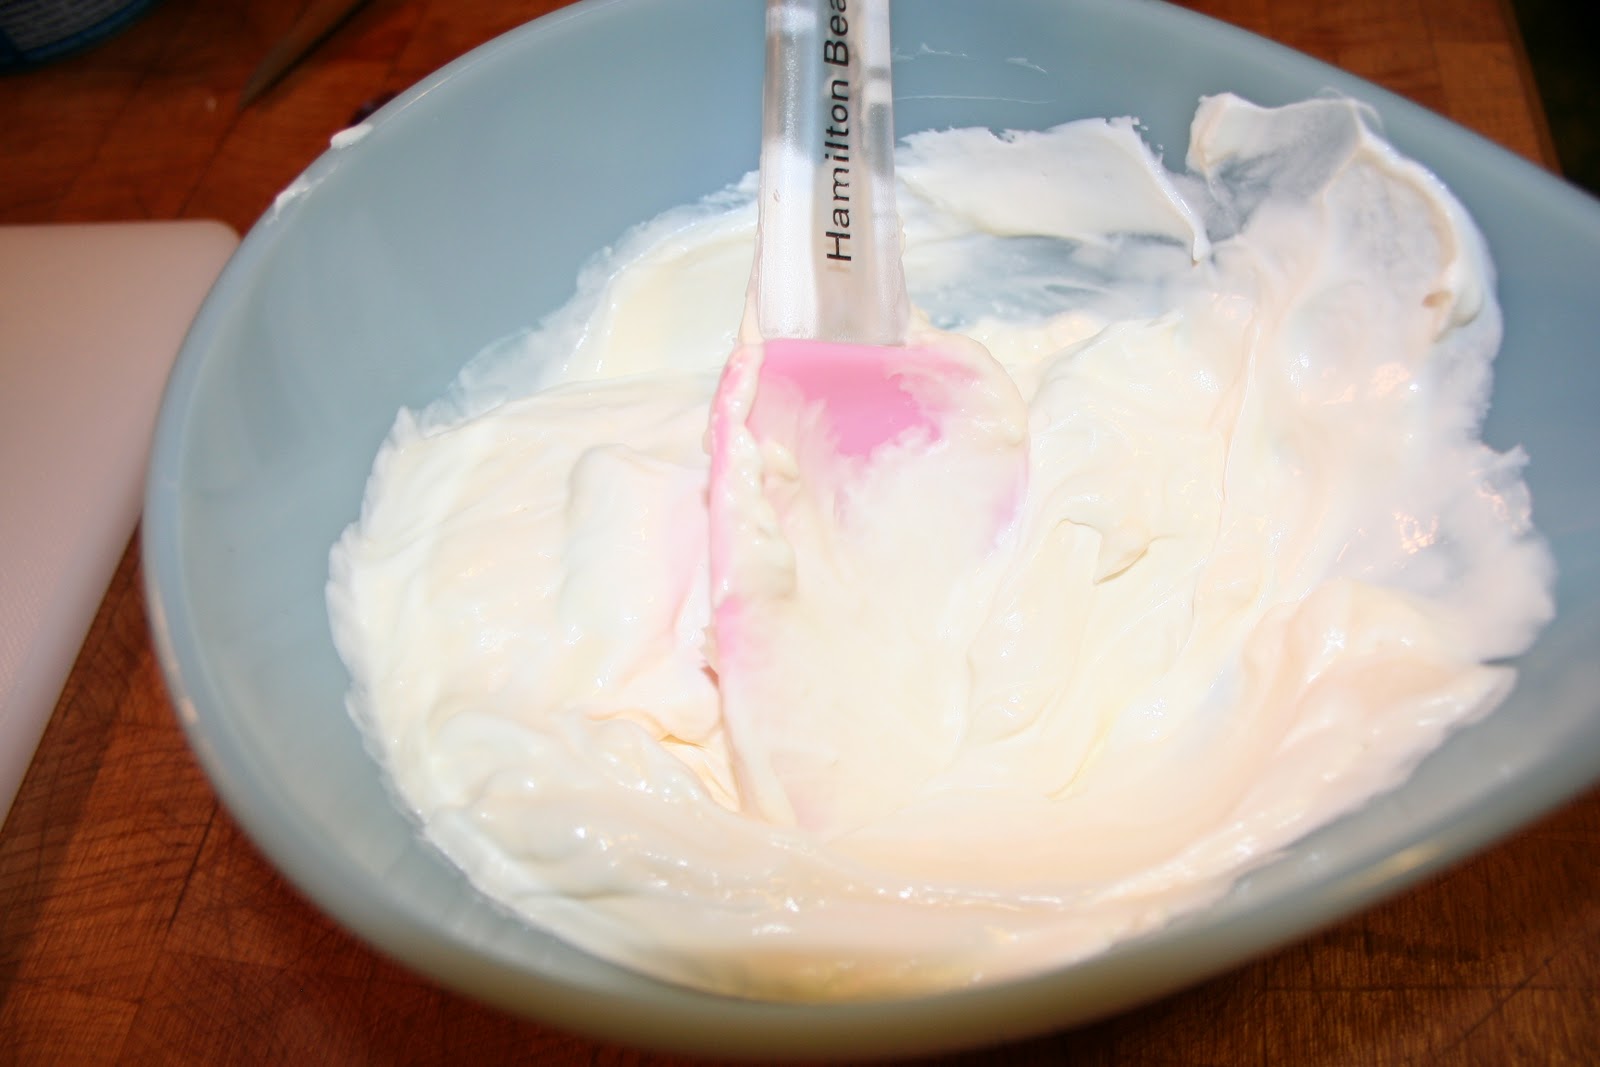
mix the mayonnaise and sour cream....

add crab meat...

and toss lightly...please use a bigger bowl....

add the artichoke and cheese....(You can shorten this by purchasing the artichoke dip from your deli department and adding the crab)

place your pre-made pie crust on a baking sheet....

spread light layer of cheese over crust....

add leek and fennel mixture...

add bacon.....

add artichoke slurry and olives.....

start pulling up the edges.....every time I see a picture of my hands I see my mothers and grandmothers hands...

cover with remaining cheese and place in oven.....

remove when golden brown, and oh so fragrant...

cut in wedges and serve.......sorry for the pictures...not very good lighting..I hope it is not hurting your eyes...

oh so great!!!!!  Serve with a big salad and glass of red wine!!!


Cheers to Happy  !!

Sunday, November 7, 2010

L'Ecole Recess Red Honey-Jelly...

Oh, Life is Good! Recess Red Honey-Jelly. It tastes like honey and red wine...I know, I know...that is all the ingredients are, but I still thought maybe it would taste like sweet grape jelly...silly....it really tastes heavenly, it is fragrant and sweet tasting of honey...the perfect gift for wine lovers and a great addition to an appetizer tray...
I used one of my favorite wines from one of my favorite winery's...Recess red from L'Ecole No 41...

Here is the winery...it is in an old school house...it was built in 1915, the schoolhouse is located in historic Frenchtown, a small community just west of Walla Walla, Washington. Frenchtown derived its name from the many French-Canadians who settled the valley during the early 1800s. Legend has it, these men of French descent were raising grapes and producing wine. By the 1860s, nurseries, vineyards and winemaking had become a part of the regions' growing economy. The name - L'Ecole NÂș 41 French for "the school" located in district number 41 - was chosen to salute these pioneer viticulture efforts. And so the winery was named for the building that houses it....

There is so few instructions and ingredients.....

L'Ecole Recess Red Honey-Jelly
2 cups wine (use your favorite here...Chianti, Sangiovese or other dry red wine
1   1.75ounce package regular powdered fruit pectin
3 1/2 cups honey
1/4 tsp butter
In a heavy 4-5 quart heavy pan, combine wine and pectin...stir and let set for about 2 minutes, then stir and bring to a full boil over medium high heat, stirring frequently...then stir in honey and return to a boil...after it boils add the teeny bit of butter and boil for 2 minutes..remove from heat and remove any foam off of top and put in hot jars and process for 5 minutes...That is it!


It only takes a half bottle of the wine...make 2 batches or have some with dinner! This would also work wonderfully well with Pomegranate juice.....

add the pectin and let set.....

bring to a boil....

rolling boil here.....

hot jars ready......

just a little foam here......ready to ladle in a jar.....

jars processing......

put your jars on the counters for a few weeks so you can look at them often and feel accomplished!

When you open the jar you get the first whiff of the honey-wine...amazing.....

here is a commercial for creamy brie....did you know they sell this? It is dangerous in my house...I LOVE brie...there I said it and I am glad!

put some of your creamy brie and jelly on some biscotti or...

on little toast rounds...it is lovely...it is festive...it is happiness in a jar!

Cheers to Happy  !!

Saturday, November 6, 2010

Gaucho seasoning...

Last year my sister gave me a great seasoned salt from Paula Deen, I used that seasoning on everything! It is especially good on meat...it is called her house seasoning. Every good restaurant has one....at my restaurant we have one called Gaucho seasoning...I never thought much about it until I was out of my Paula Deen's...I looked closely at what was in the Paula's seasoning and it was the same ingredients as our housemade Gaucho seasoning...so I cleverly made my own, and I will share our recipe...It is not a secret, (whoops) I don't think it is anyway....

this recipe consists of these four ingredients....
white pepper
garlic powder
onion powder
and plain salt
measure 1/3 cup of each, white pepper, onion powder, garlic powder in a bowl....

add 1 cup of salt and stir and presto! there you have it! Gaucho seasoning! season your meat, and especially your mashed potatoes...

put it in a small container so you can add it by the teaspoon full and pinch...

Cheers to Happy  !!

Friday, November 5, 2010

Chocolate Orange Loaf Cake....

Today we are celebrating 300 posts! Yay! My happy little blog has been such a constant joy! I love the comments and the feedback...It is fun to go about my busy day and cook and write blogs in my head...seriously I narrate my life as I go...I probably shouldn't admit that....it does sound a little odd...oh well too late now...so here we are a celebration cake, it is so delicious...perfect for an easy dinner dessert...your guests will love this...it would be great after a heavy pasta meal, when you just need a little something or for a mid-morning break...

Chocolate Orange Loaf Cake
1 1/4 sticks of softened butter
2 tablespoons light or dark corn syrup
1 cup dark brown sugar
1 cup flour
1/2 tsp baking soda
3 tablespoons unsweetened cocoa powder
2 eggs
zest of one orange or 1 tablespoon
juice of orange or 3 tablespoons

Preheat oven to 325 degrees. Spray sides of 9x5x3 loaf pan...
In a large bowl, with an electric mixer beat the butter, corn syrup and brown sugar until very fluffy about 3 minutes....in a separate bowl combine flour, cocoa and soda...and stir...add a tablespoon of the flour mixture to the fluffy butter mix and continue mixing...add one egg...continue mixing...one more tablespoon of flour mix....one more egg, keep mixing then add all of the rest of the flour mix and the zest of orange...add the orange juice one spoon at a time....add the mixture to the loaf pan, spread to even out and bake for 40 minutes...cool, remove from pan and cut and enjoy...can be made up to 3 days ahead and also frozen for 3 months.....

gather the few ingredients.....

here is the butter mixture and adding the spoon of flour mixtures....

mixing in the flour mix.......

adding the orange juice......

spread in the pan.....

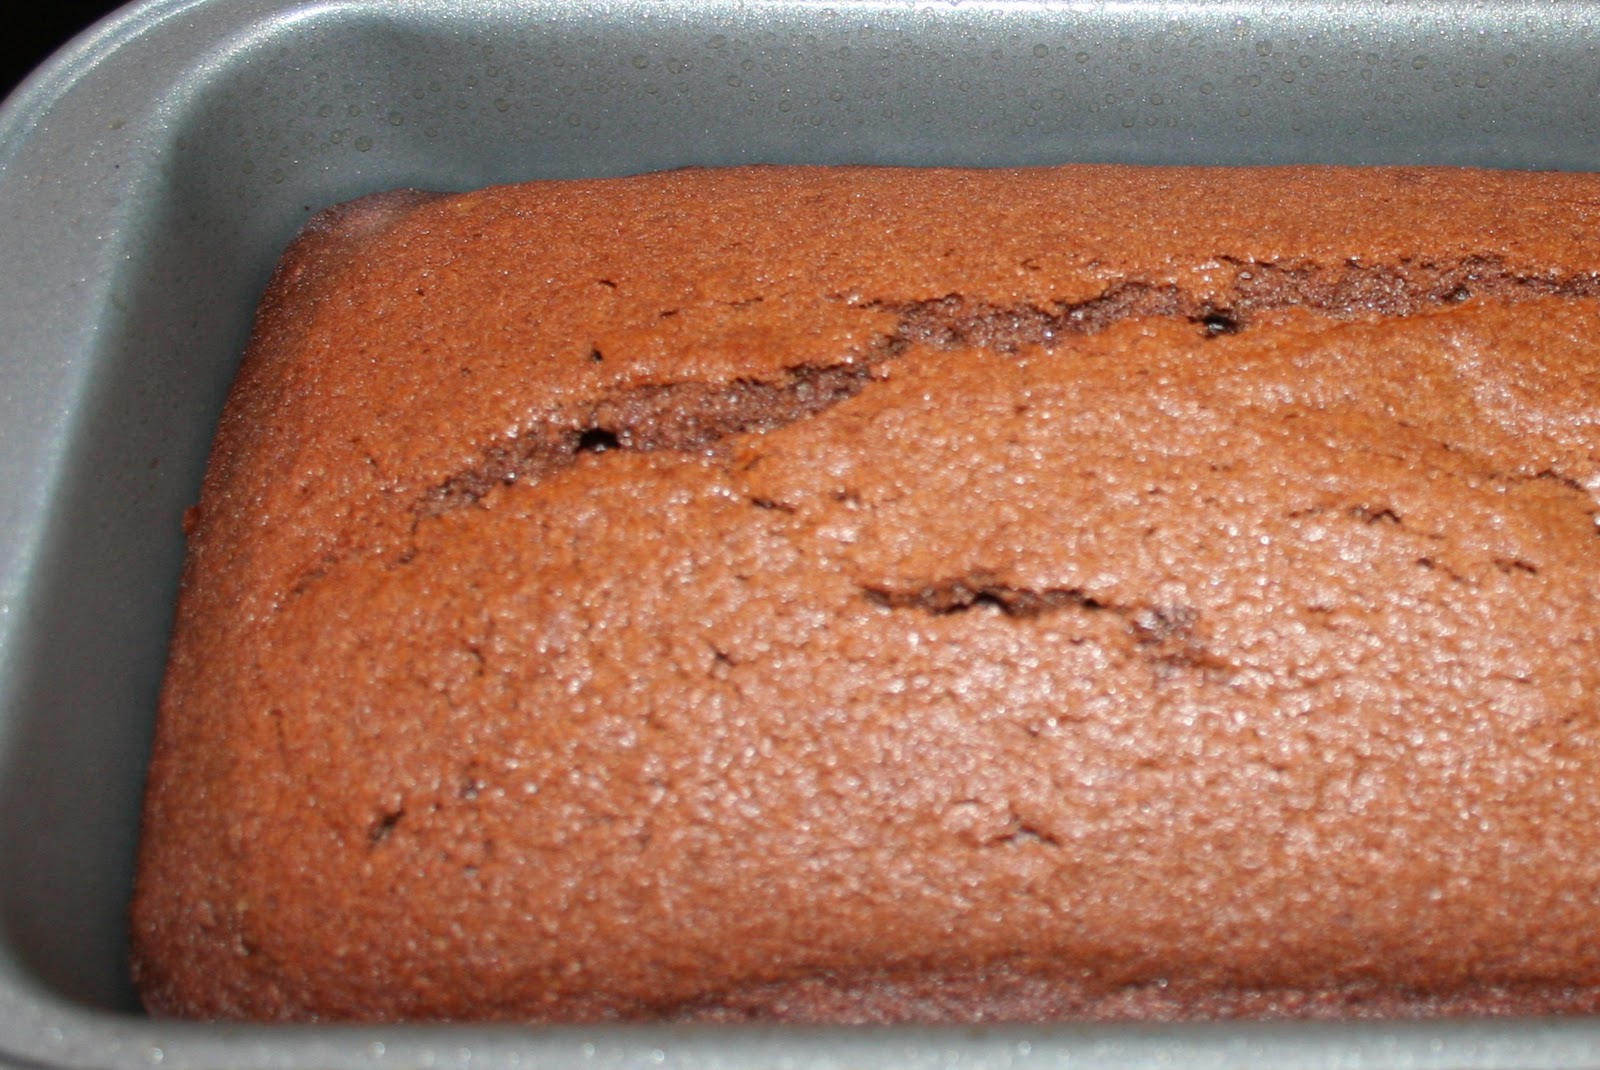
out of the oven...smells heavenly!....

this is so good...you taste the cocoa powder and the orange....what is better than the two together? Enjoy after dinner, with a glass of red wine or hot cup of coffee.....hmmmmm....

Cheers to Happy  !!

Monday, November 1, 2010

"they turned it in, they turned it out they turned into sauerkraut"


THE PERFECT BITE...
I am so excited to share this with you.  You all know that here on the hill we had a wonderful vegetable garden this year.  One of the things we planted was cabbage.  They were so beautiful and plentiful that we decided that we would do what any red blooded American girl would do.   Make sauerkraut. 
It sounded so daunting, I wasn't to sure we would be able to pull this one off.  After all not everything we try does.  We planted tobacco this year because I told the kids 
 I would show them all how to roll cigars. Ha!!! Like I even have a clue.  I just want to say though  I would have figured it out.  Unfortunately the slugs ate my nice tobacco.  I like slug bait now.

So the first thing to do is get yourself a crock.  We read recipe books googled recipes talked to everyone about it.  And finally decided to just go for it.
Our harvest of cabbage was about 10 heads total in various sizes.  It wasn't going to be enough so I went to my favorite vegetable stand in the whole world.  Carpinito Brothers in Kent, Washington.  It is about 3 blocks from my work.
They had amazing cabbages.  So fabulous I went crazy and bought 8 very large heads.  It was 19 cents a pound so I bought 43 pounds.  Keep in mind how much you buy because that is how you figure out how much salt to add.  Note that you use non iodized salt.  I had a box of canning and pickling salt.  So far I have spent out of pocket $8.29.  A very inexpensive form of entertainment.
 My grand daughter Sarah happened to drop in and we put her to work, she was in charge of the salting process.  Because as you shred your cabbage you will want to add the salt.  When you have completed shredding and salting the cabbage you get in there with your hands and mix vigorously until the salt and cabbage start to get wet.  It doesn't take long.
After that cover the cabbage with cheesecloth a plate and a large clean rock or brick in a plastic bag.  We covered the crock with Seal and Wrap it worked like a charm.  
We kept the crock in the dining room.  It was perfect.  Every three or four days we checked the process. It bubbles, and they say to watch for scum on top of the brine and skim it off.  We didn't have any of that.  Making sure the cabbage was keeping its' color and was submerged in the brine (it makes its own).
It took about 10 days before it was ready.  We just tasted it every so often.  It just kept getting better and better.
On Saturday last we decided it was time to can the sauerkraut, and share some and cook with some of it too.  The only real way to preserve sauerkraut is by canning.  Freezing ruins the taste and plastic is not stable enough to maintain the quality.
Ok then lets can it.
This is the beautiful finished product. Keep looking it is easier than you think.

Fill the jars to just below the jar shoulders (where the jar narrows).
Dar was the kraut putter in the jar girl.  When she was about halfway through I suggested we make another batch.  You see Aunt Evelyn told me about her mother in law putting whole heads of cabbage in the crock and then when it was cured to use it for cabbage rolls.  Wouldn't that be so marvelous?  Well she didn't respond to that and by the time we had 20 jars and 4 quarts to give a way I recovered.  She was pretty happy.  5 gallons of sauerkraut is enough for any body I am thinking.  When you get the jars filled.  Make sure you have enough brine to cover the kraut bring it up to 1/2 below the top of the jar.

Put the hot seals and rings on and tighten.  You will want to process the kraut for 20 minutes in a hot water bath.

Put these hot jars on a bath towel on the dining room table, cover with another towel and listen for them to pop as they seal.  You will want to leave them there all day and maybe the next too.  So you can show everyone what you have been up to.
On Sunday we made dinner using some of our fresh kraut.  I used a pork shoulder roast,


broiled in the oven first to brown.  Then place a thick sliced onion on top and an apple sliced on top of the onion.  Cover the roast and bake at 350 degrees for an hour.  Take it out of the oven and take a little picture. Next we add lots of fresh sauerkraut.


You want to really pack this on tightly and put some around the roast in the drippings.  Now back into the oven until it reaches 165 internal temperature.  While you are fooling around waiting you could add some little red potatoes to the oven.  I did.

Just olive oil, black pepper and sea salt, cover and right into the oven.
The house smells so wonderful, too bad we couldn't bottle that and sell it.
When the roast comes to temp.  The potatoes should be done too.

Yum,  fabulousness in the kitchen.  Did I mention the disco ball in the kitchen was spinning all day. The ambiance was over the top I must say.

Love it so.  Plate your dinner and enjoy

And that my dear is the "perfect bite".

Cheers to Happy  !!